

First things first: This is an entry-level editing tutorial, so sit back down, don’t change the subject… I promise this will be easy to follow! I know some lalalove Photoshop, and some run away at the idea of having to deal with it. So if you are up for a challenge, let’s get to making a realistic mockup in Photoshop. Open your images and follow along!
What do you need to create a realistic mockup in Photoshop?
You can use many types of images to create your mockups! I usually include straight-on mockups in the library to make it easy to just drop your image/marketing piece in there and boom, done. No need to do it in Photoshop, you could do it in any photo editing software/platform.
So basically you’ll need:
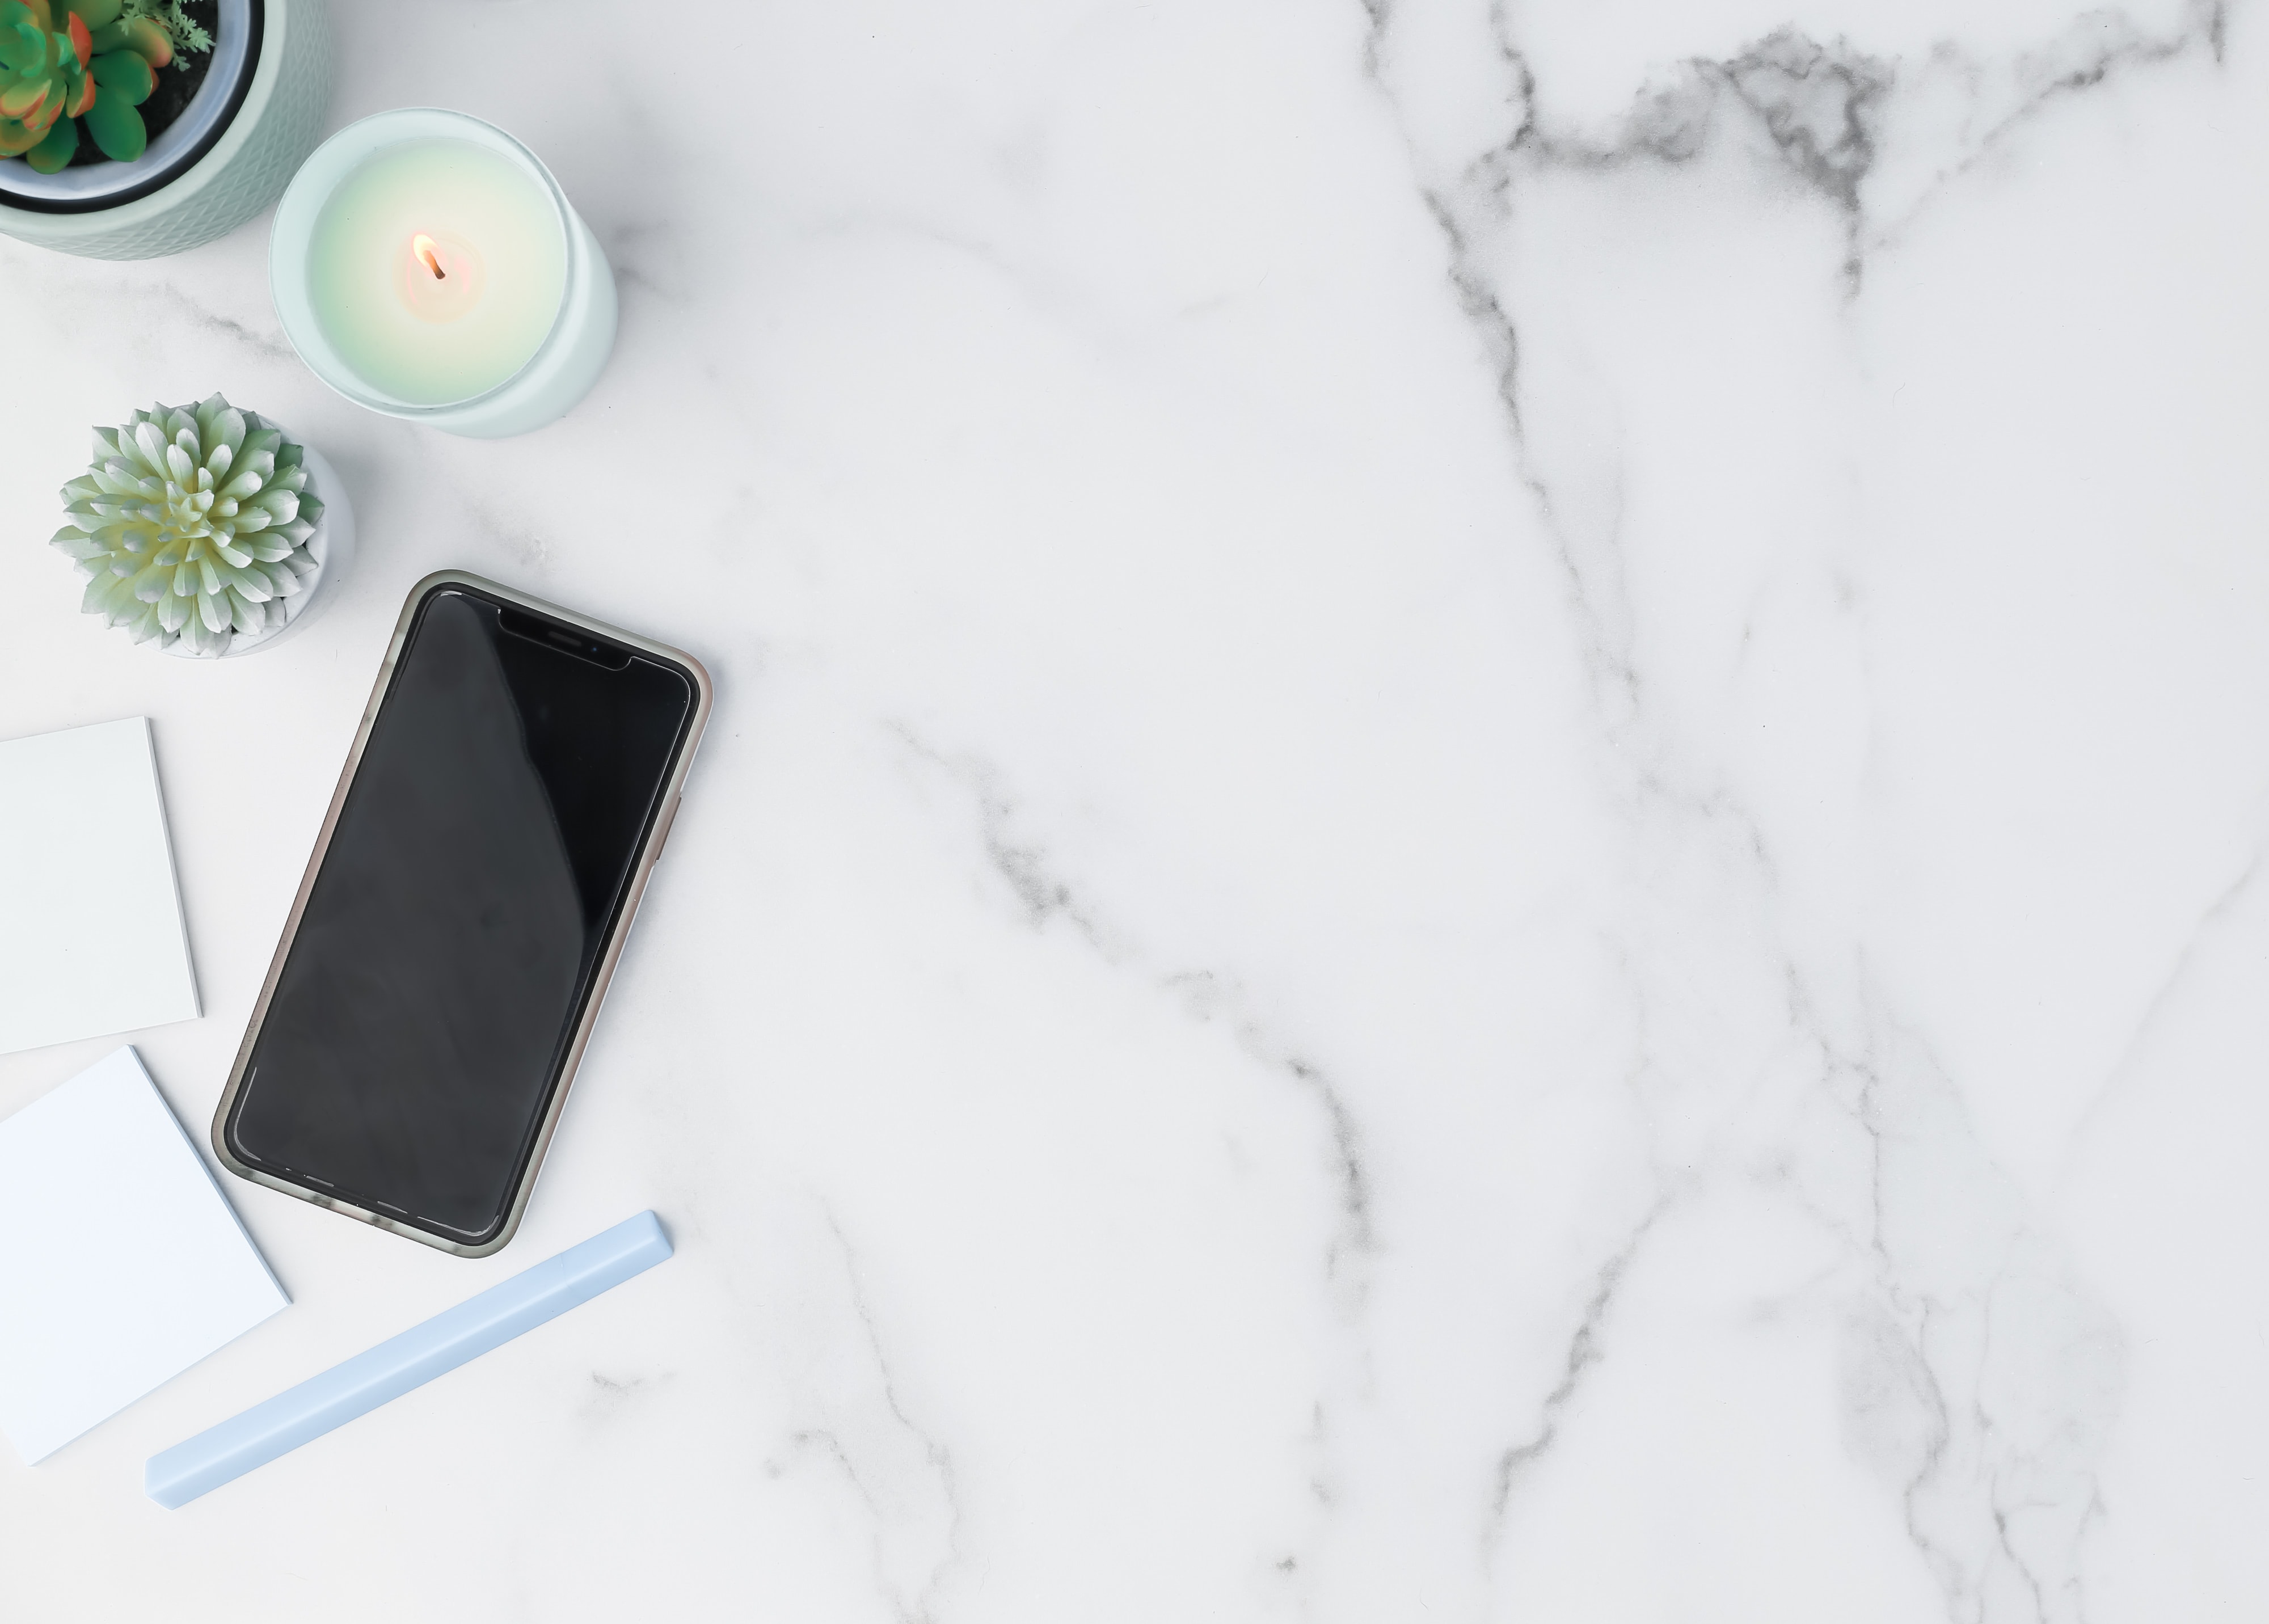
- A photo that lends itself to be a mockup: maybe it has an iPhone, or some sort of tech in there with a visible screen, or it’s a paper that can be the base for your design. You decide.
- Photoshop. We’ll need to do more than just layer the images one on top of the other. We will actually distort the image to fit right into the tech screen and make it look real. And for this particular tutorial, I will show you how to use a little blur to make the mockup look realistic!
Things to consider
Think about what your end result needs to look like, after all, we want to end up with a realistic mockup! If you have an image that has a lot of depth of field in there, so the actual mockup will end up lost a bit, then you need to consider using a different image to make sure your final image looks perfect. It’s fun to play with images that require different angles or blurs, it makes it even more unique since nor everyone will take it and create a mockup out of it!
The photographer in me has a warning for you: If you will work with an image that has depth of field, be mindful of it. The depth of field blur occurs in a straight line with the direction of the image (the angle). So, follow it, watch carefully how the line goes so you can add it in realistically. We are not wasting our time adding fancy effects to ruin it with silly things like that. I trust you, I know you’ll make it look awesome.
Tutorial time!
You know me, I’m a show-n-tell kind of person, so tutorial means video! Grab a cuppa and get your learning cap on.
That is it! Now go find that awesome image you want to use as a mockup and let’s edit it! If you need some images to get started you can get these set of stock images and mockups to try it!

Let me know what mockups you do after watching this tutorial! ?
Thought so. Put your email right here and get an exclusive set of 15 photos straight to your inbox! (I occasionally send more because why not?) I got you.
Want to get a taste of the stock images inside the A21Co membership? 👀
You'll be added to my VIP pen pal list (which is sent very sporadically) where you'll get freebies, news and first dibs on any promos.